After importing a new product to the Product Center page, you can easily edit the product details using the AI Enhance feature. Follow the steps below to effectively customize your product details for better visibility and sales.
Steps to Customize Your Product Details
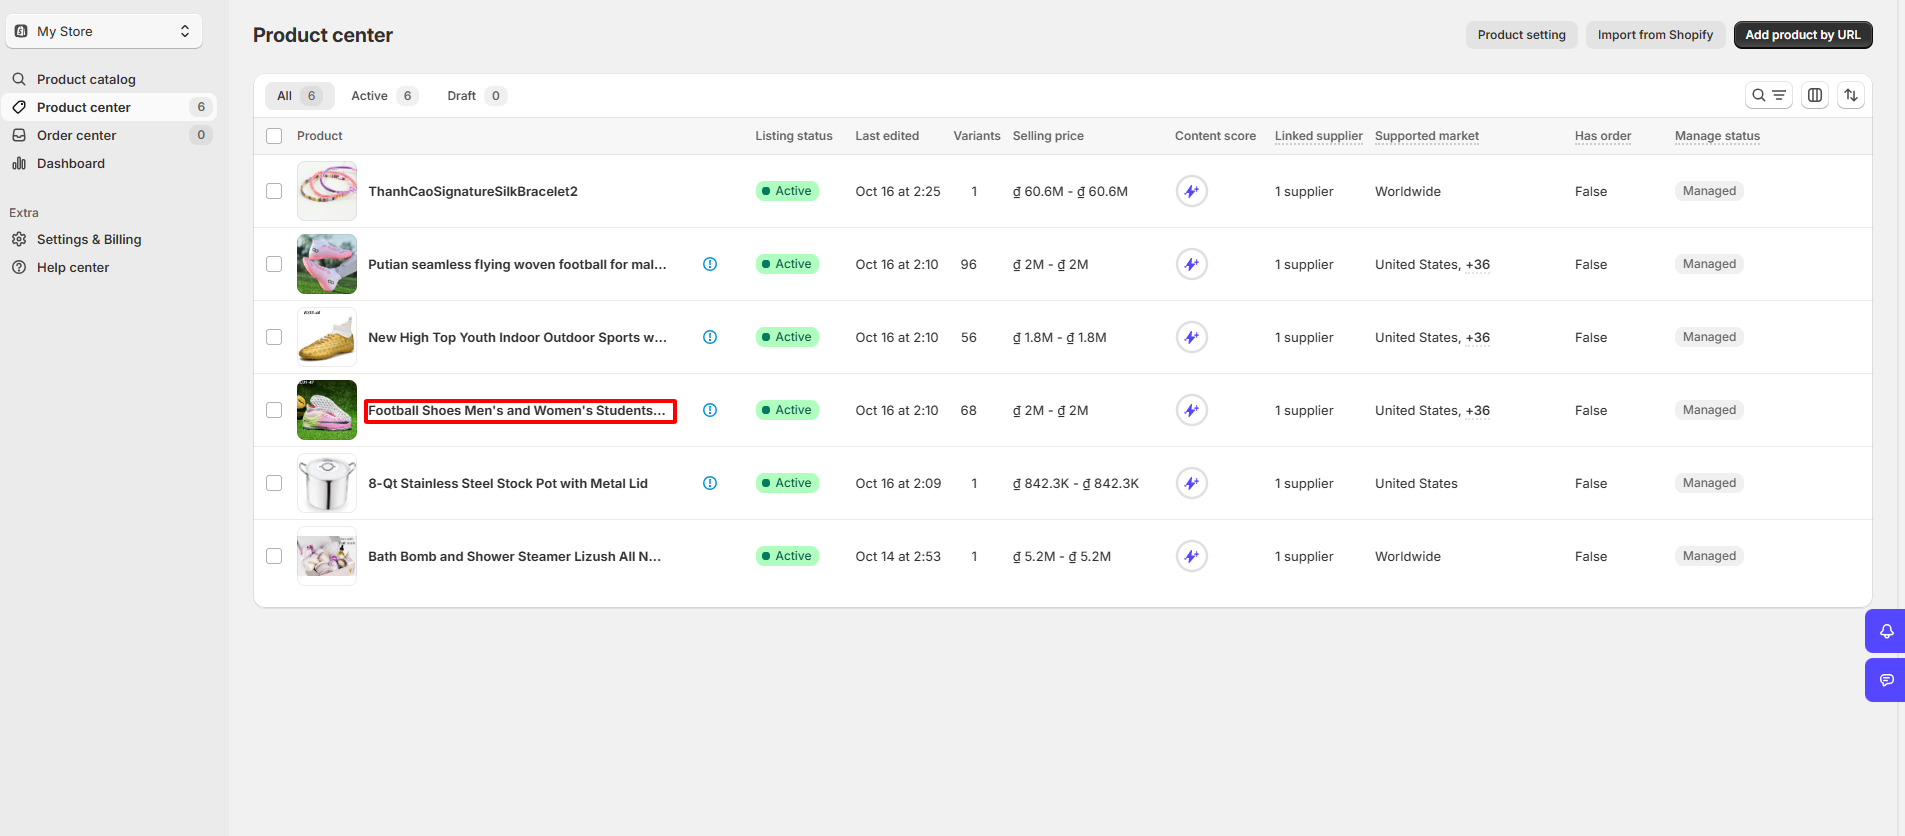
- Log in to Zopi > Product Center.
- Click the product name, and a product detail window will appear for editing.
1. Image tab
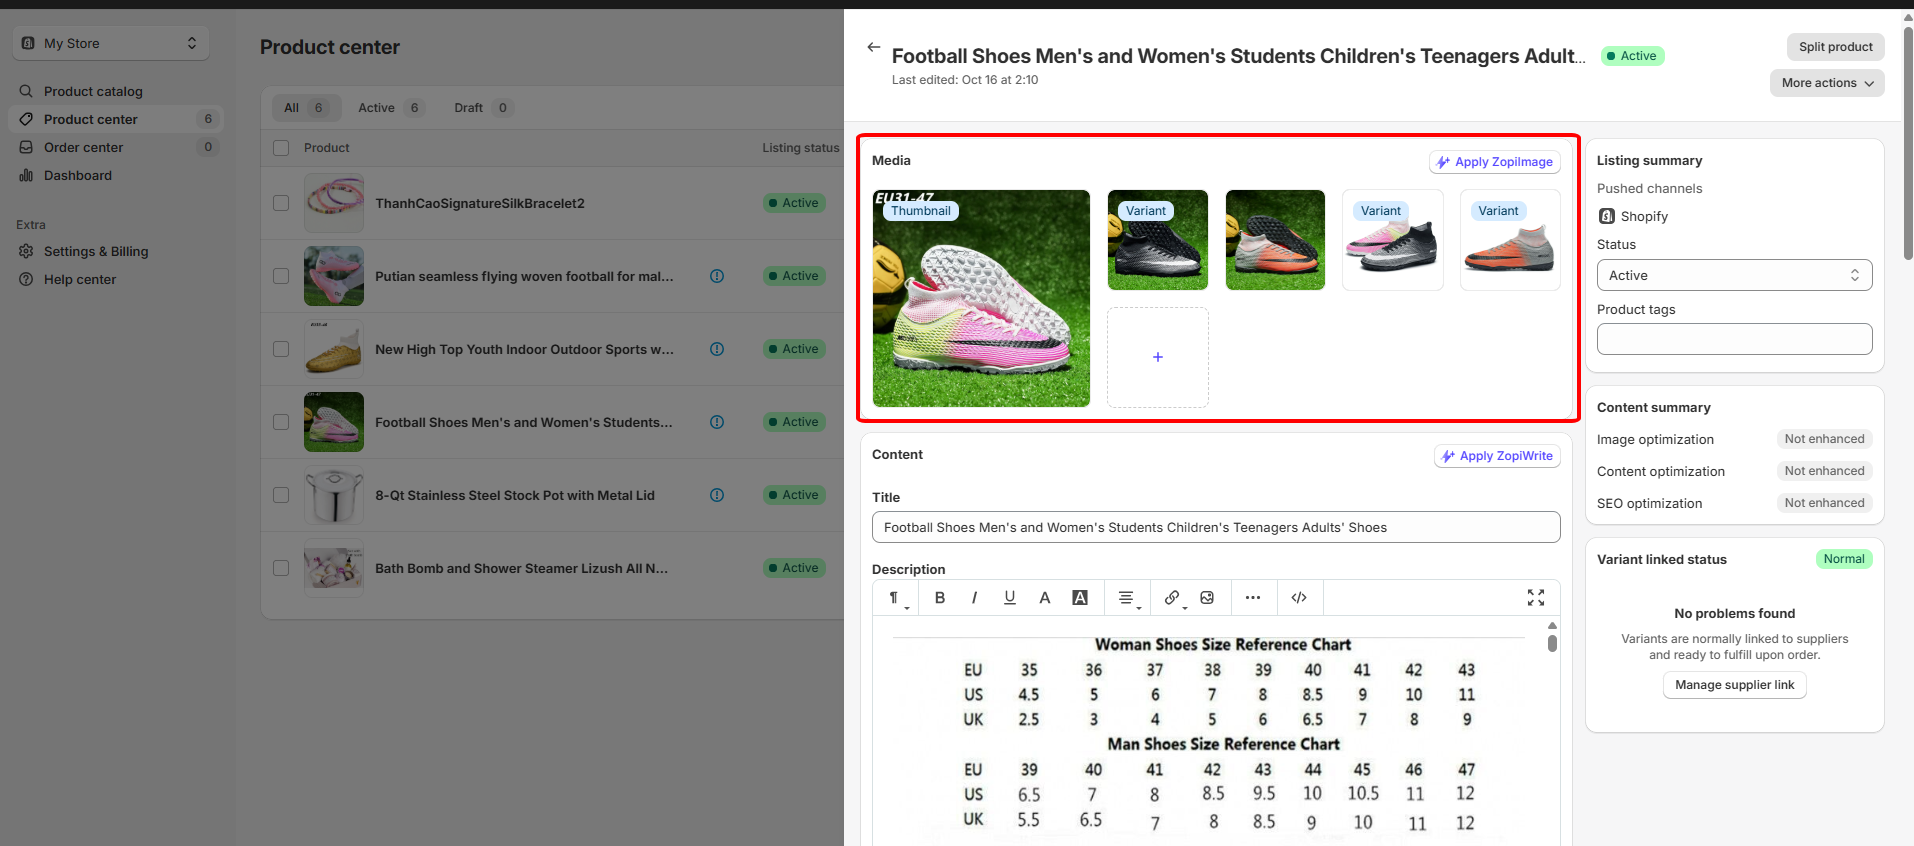
- Check or uncheck the boxes next to the images to select which pictures will appear in the Media section of your product details page.
- Click and drag to replace the standard thumbnail with your chosen images.
- Click Add media to upload images from your computer.
2. Content Preview Tab
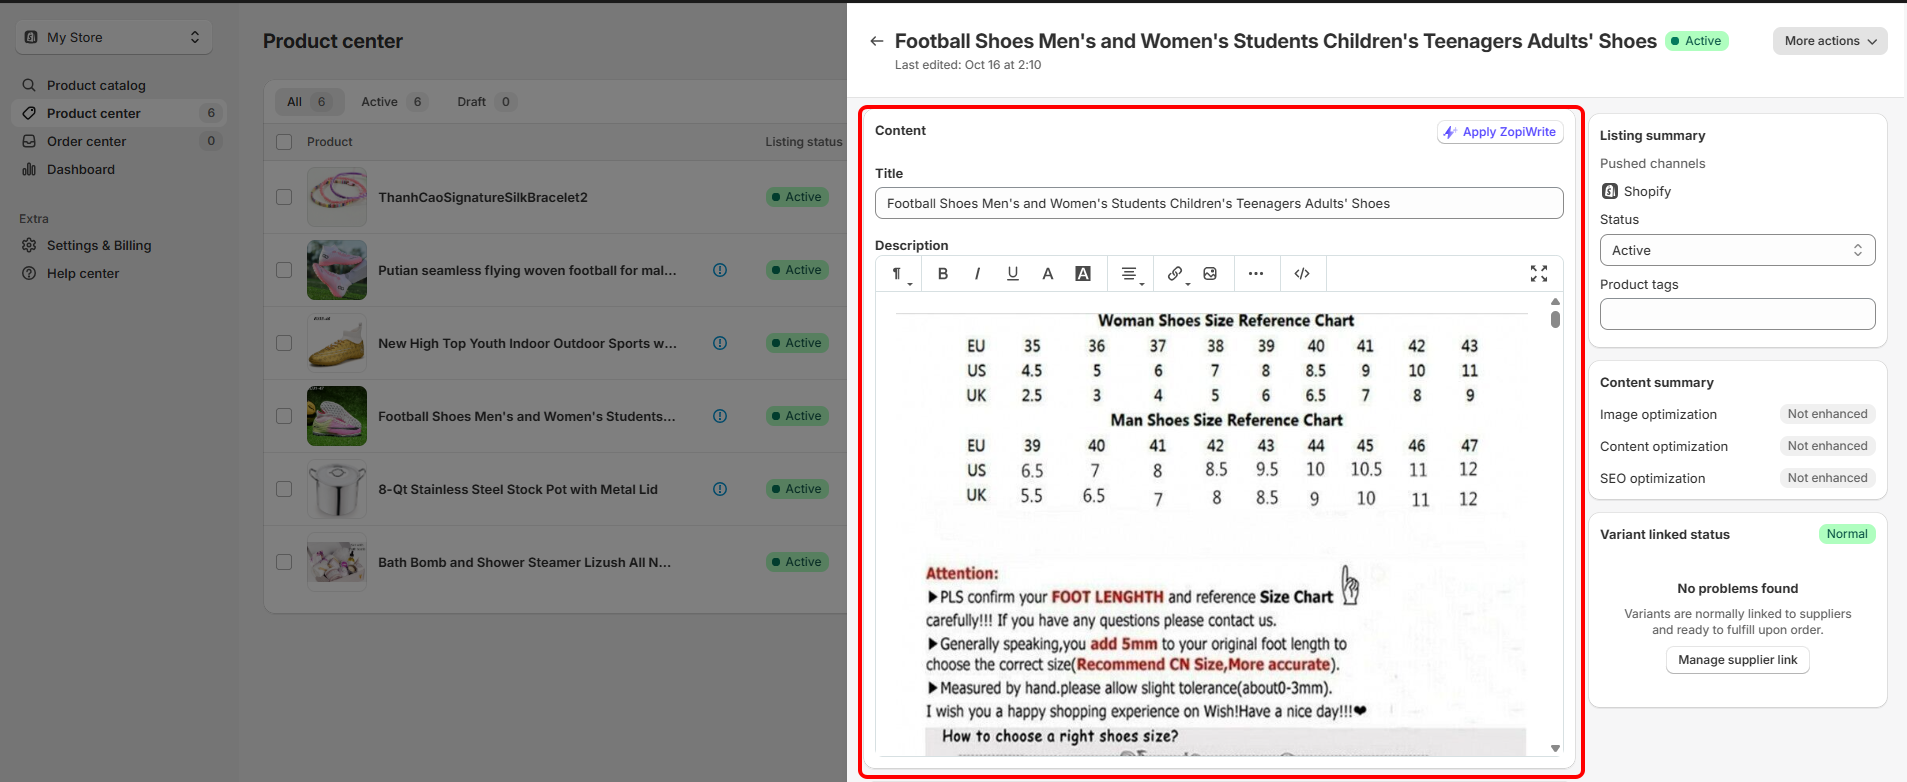
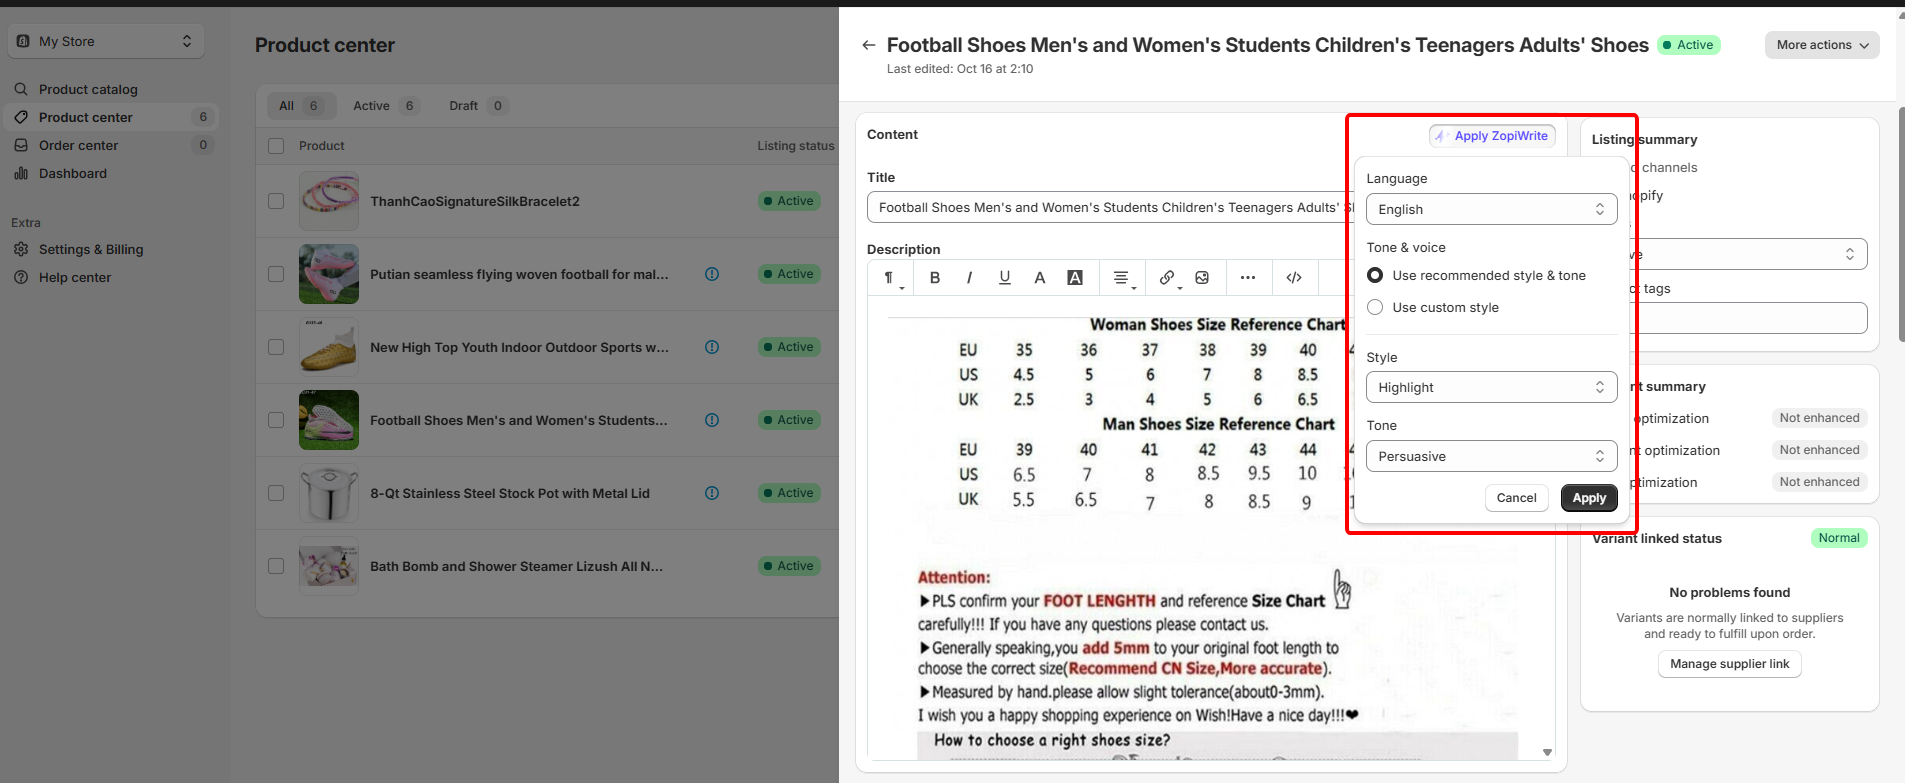
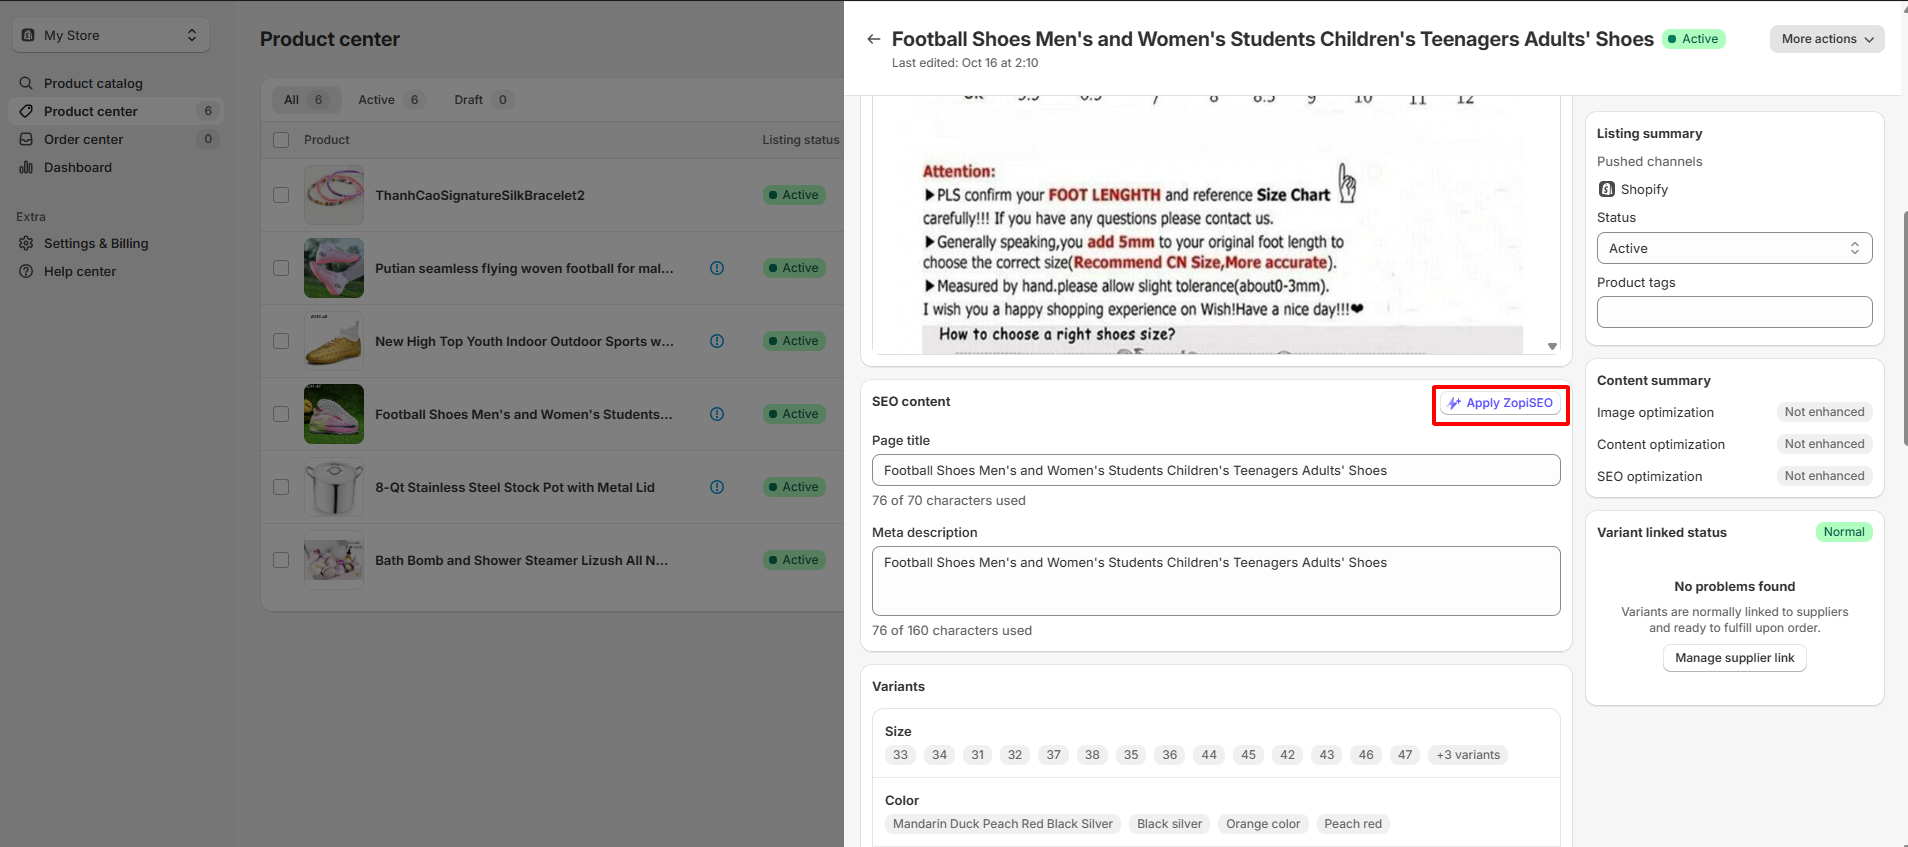
- Find ZopiWrite and ZopiSEO to quickly enhance your product titles and descriptions. These tools help you create professional, persuasive, and keyword-optimized content for your store in seconds.
- To add new images to the description, click the image icon in the toolbar. You can upload your image by browsing your files or pasting a URL.
3. Pushed Variants Tab
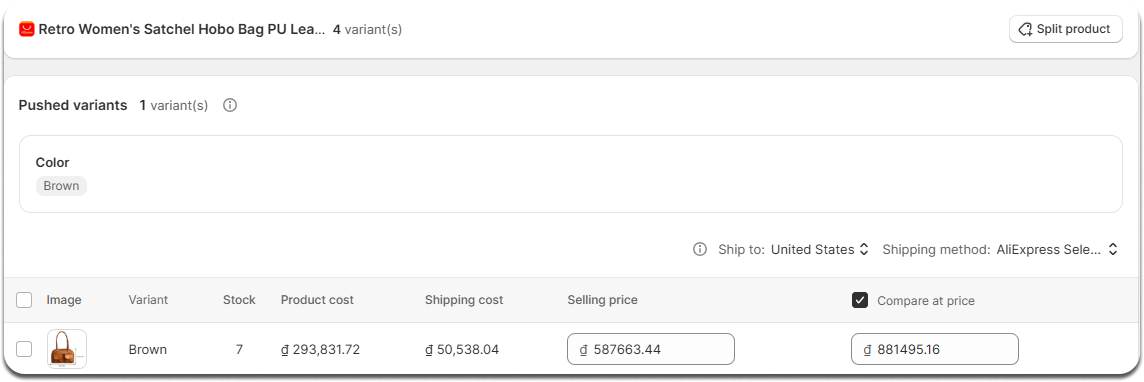
- Split product by variant to create a product with fewer variants.
- Deselect variants that you do not want to sell and check the inventory available for each variant.
- Hover over the total cost to view individual product and shipping costs.
- Tick or untick the boxes in the compare at price section, which appears on your store’s product page.
- Check the shipping info to see if a product can be shipped to a specific country. If it shows ‘N/A,’ the product isn’t available for shipping to that location. Adjusting this information will only affect the total cost, helping you set a more accurate selling price without impacting your profit and loss.
4. Sales Channel Tab
Tick the box next to your desired channel and enable the settings listed below:
For Shopify
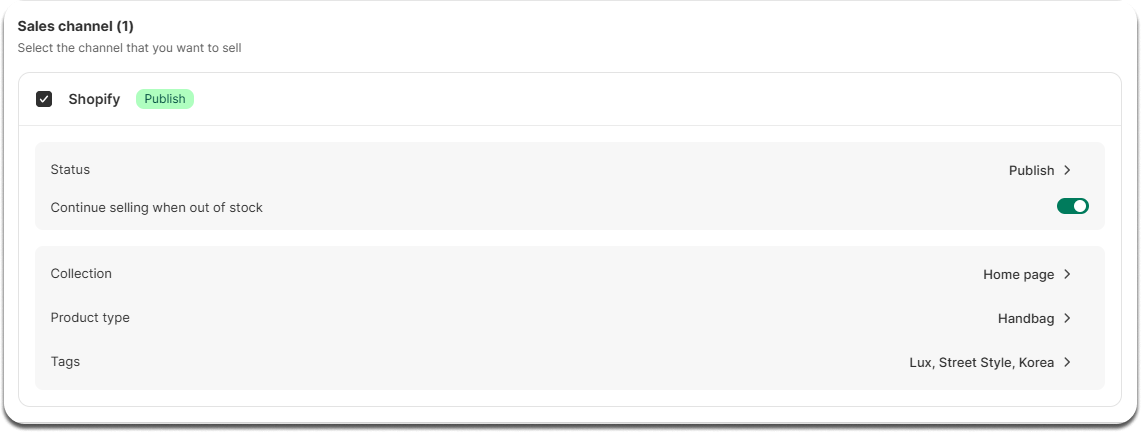
- Status: Select the Publish option. If you choose Unpublished, it will only appear on the back end of your store, allowing you to edit or manage it before making it visible to customers.
- Continue selling when out of stock: This is usually enabled by default, allowing overselling. If disabled, the product will be marked as sold out when inventory reaches zero.
- Set Collection, Product type, and Tags for your store-based products.
IMPORTANT NOTE:
* On Shopify, there are two types of collections – Manual and Automated. Zopi currently synchronizes both types.
* Zopi does not synchronize Shopify Tags and Types; you can create them manually here.
For WooCommerce
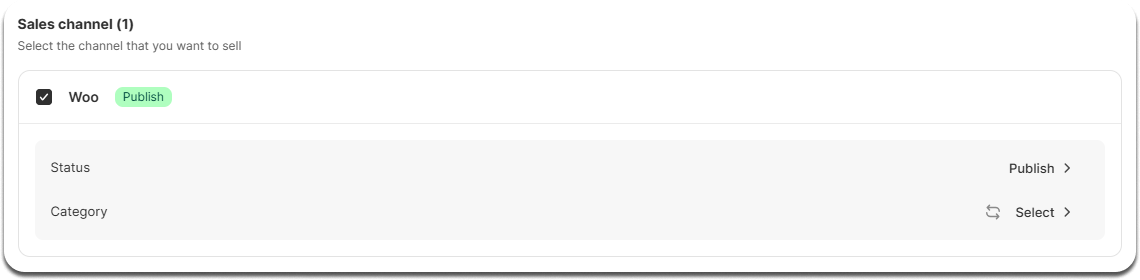
- Status: Select the Publish option. If you choose Unpublished, it will only appear on the back end of your store, allowing you to edit or manage it before making it visible to customers.
- Select a category to group the products into broad, navigable sections, simplifying the browsing process for customers.
- Click Save to apply your changes.
Now you can push well-customized products to your store and visit the Mapped section in the Product Center to check product details.