Zopi Extension is your essential tool for achieving success in dropshipping. With in-depth insights from Shopify store analysis and detailed AliExpress data, you can stay ahead in your niche and make informed decisions. The Zopi Extension simplifies product research, store analysis, and sales tracking like never before.
Getting Started with Zopi Extension
To optimize your dropshipping business and make smarter choices using the Zopi Extension, follow these steps:
Step 1: Install the Zopi Chrome Extension
Begin by installing the Zopi Extension. During the setup process, select a plan that provides access to the features and services tailored to your needs.
Step 2: Capture Screenshots for Dropshipping Ideas
After installation, locate the purple icon on the right side of your browser. Click this icon to crop a screenshot or capture the entire page. You can also click Open Sidebar to access valuable insights for dropshipping.

Step 3: Analyze Shopify Stores or Browse AliExpress
To find trending products on AliExpress, visit the site and click on a product to view its details. The Zopi Extension will appear at the bottom of the page. On the left, you’ll find expert-curated suggestions for top trending products. On the right, access detailed insights, including sales trends and reviews, to analyze products effectively.

To analyze a Shopify store, visit any Shopify website. The Zopi Extension will again appear at the bottom, providing insights into high-traffic stores on the left and detailed competitor analysis on the right, including traffic data and promotions.

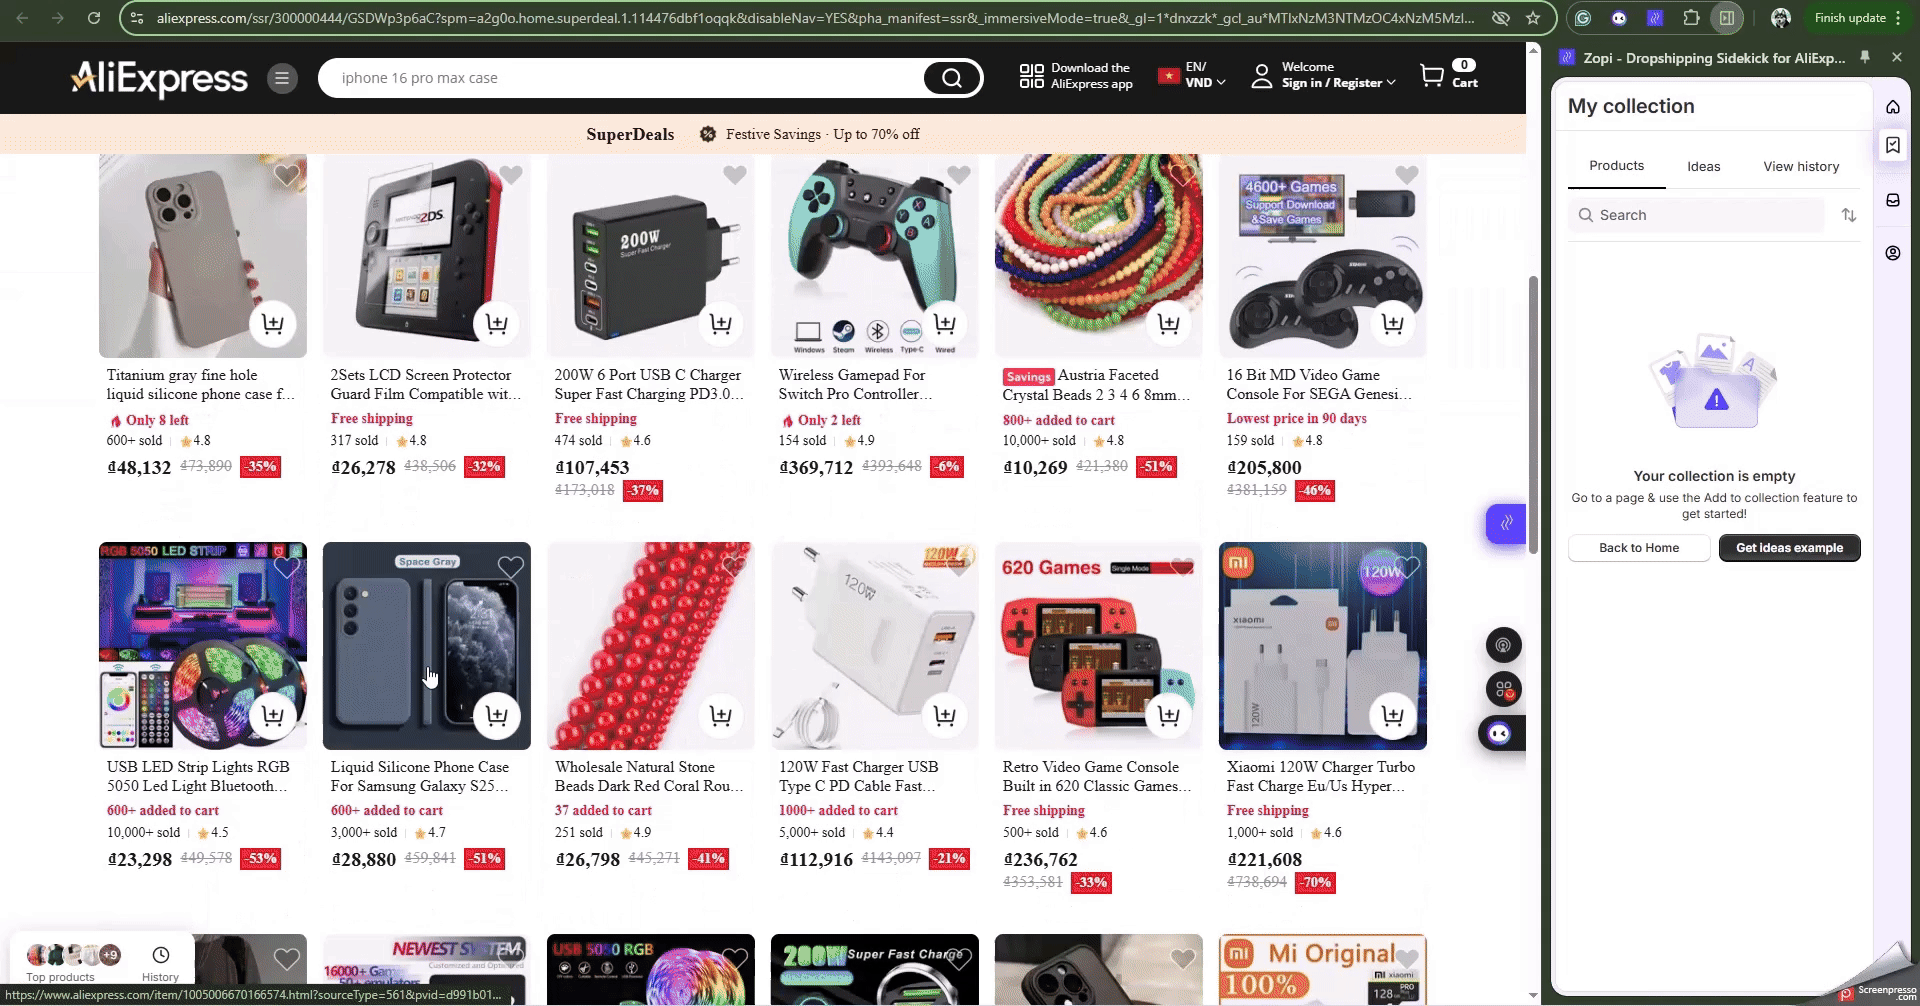
Step 4: Add Products to Collection and Push to Store
Zopi Extension helps you source smarter by letting you save products before importing. With the “Add to Collection” feature, you can bookmark items while browsing and push only your best picks to Shopify.
Steps to Add and Push Products Using Zopi Extension
-
Access a Product Detail Page
-
While browsing a product on AliExpress or a supported supplier site, click the Zopi Extension icon.
-
Select “Add to Collection” to save the product inside your extension.
-
-
Open ‘My Collection’
-
Click the extension again and go to the “My Collection” tab.
-
View all saved products and choose the one you want to publish.
-
-
Push to Shopify Store
-
Select your desired product and hit the “Push” button.
-
The product will be imported into your store, ready for editing or publishing.
-
NOTE: If you click “Add to Collection” on a category or search results page, Zopi will save all products visible on that page to the collection.
You can also place orders directly through the Zopi Extension on AliExpress or Temu when you receive a Shopify order, streamlining your sourcing and order fulfillment process.
We hope this guide enhances your experience in researching dropshipping products, analyzing competitors, and exploring the market to identify the best products to sell.
Learn more about Import product to store by using Zopi Dropshipping