Connecting your store helps you get the most out of Zopi. Once connected, Zopi becomes your central hub for managing products, orders, and fulfillment — so you can spend less time on manual work and more time growing your business.
Why You Should Connect Your Store
After connecting your store, you’ll be able to:
-
Import and push products faster without manual listing
-
Sync orders automatically into Zopi Order Center
-
Manage fulfillment in one place, from supplier mapping to tracking updates
-
Reduce errors and missed orders with clearer workflows
-
Save time every day by keeping everything in a single dashboard
Supported Store Platforms
Zopi currently supports:
-
✅ Shopify
-
✅ WooCommerce
-
✅ BigCommerce
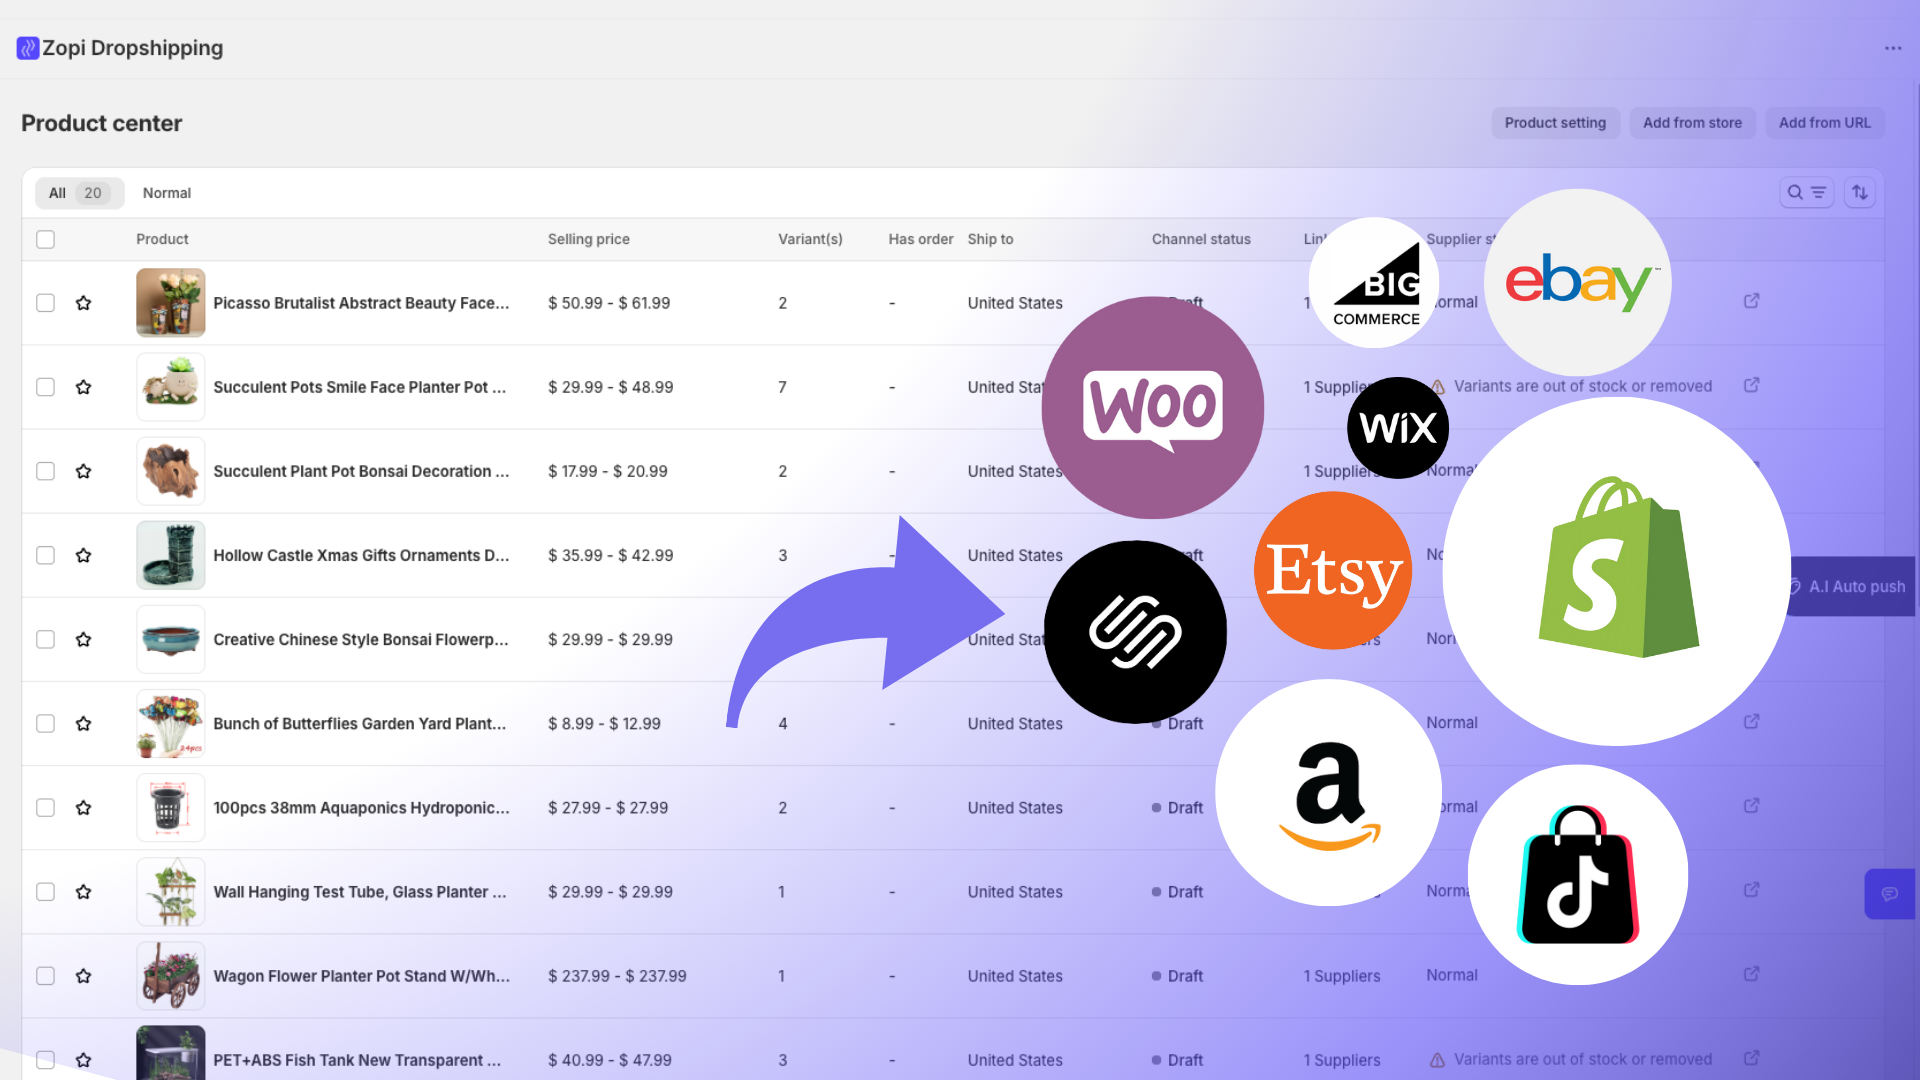
Other platforms are Coming soon.
-
⏳ Amazon
-
⏳ eBay
-
⏳ Etsy
-
⏳ Wix
-
⏳ TikTok Shop
-
⏳ Squarespace
Step-by-Step: Connect Your Store
Step 1: Open the Connect Store screen
-
In Zopi, click Connect now from the top banner
-
You’ll be redirected to the Connect store page.
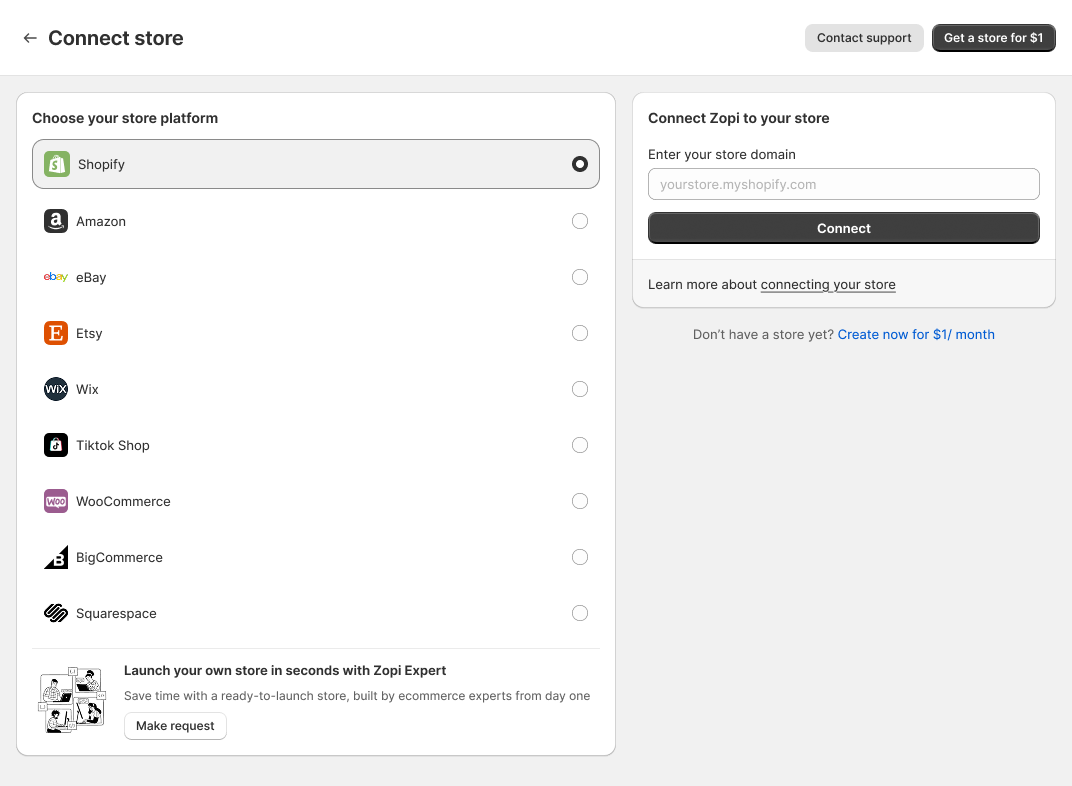
Step 2: Choose your store platform
Select your store platform (Shopify / WooCommerce / BigCommerce).
Step 3: Enter your store domain
In the Enter your store domain field, input your store domain, then click Connect.
Step 4: Approve the connection
You may be redirected to your platform to confirm installation/permissions.
Click Install / Approve to complete the connection.
Step 5: Return to Zopi
After a successful setup, you’ll be redirected back to Zopi automatically.
✅ Your store is now connected.
What to Do Next
-
Once connected, you can:
-
Start importing products right away
-
Push products live to your store
-
Sync and fulfill orders in Zopi Order Center
-
Need Help?
If you run into any issues while connecting, contact Zopi Support via Live Chat. Our team is happy to help you get set up.